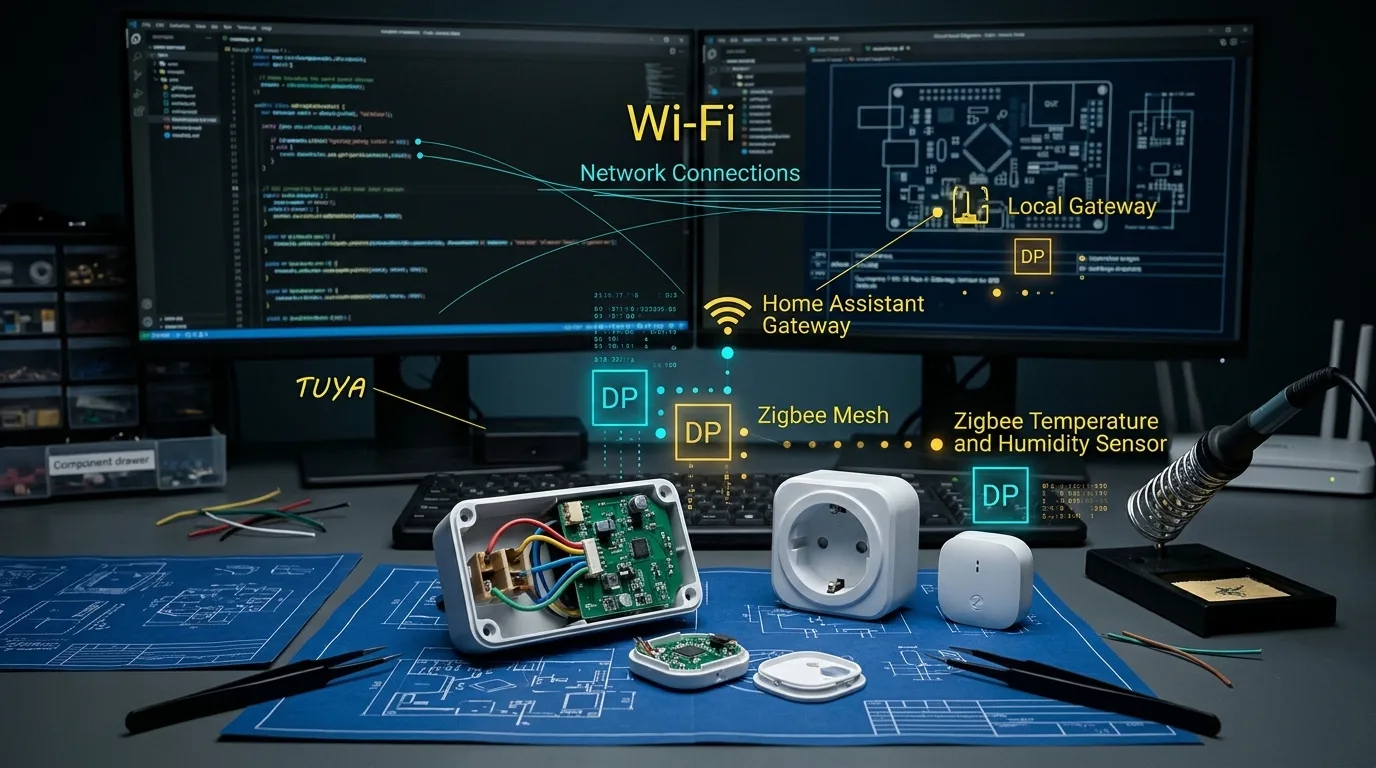
Tuya sits behind a huge number of inexpensive plugs, relays, sensors and lamps sold under hundreds of brands. If a device pairs with the Smart Life or Tuya Smart app, it is almost certainly Tuya inside. For a developer that is both a gift and a trap. Here is why.
What Tuya actually is
Tuya does not make devices in the usual sense. It is a platform: a communication module, firmware, a cloud and an app. A manufacturer takes a ready-made module, puts it in its own enclosure and gets a "smart" product without in-house development. That is why two plugs from different brands are often identical inside, while two plugs from the same brand but different batches can differ.
The takeaway for a developer: look past the brand on the box and find out which module and which protocol are inside.
This article follows up on How we started building smart buildings, where I promised a closer look at Tuya.
Wi-Fi, Zigbee or Bluetooth
Wi-Fi devices are the simplest: no hub, connect to the router and it works. But every such device adds load to the network, and at 40 to 50 devices a consumer router starts to struggle.
Zigbee devices need a gateway, but they form their own network, use little power and run well on batteries. For sensors this is usually the better choice.
Bluetooth suits standalone things such as locks or thermometers, but it is a weak foundation for a whole system.
How a device describes itself: data points
This is the main thing to understand. Every Tuya device is a set of numbered data points (DPs). On a plug, DP 1 may be the switch, DP 18 the current and DP 19 the power. A thermostat has a completely different set.
There is no single standard for the numbers. So the first step with any new device is to find its DP map: what each number means, the value type and the units. Power, for example, often arrives in tenths of a watt, and if you miss that, your figures will be ten times too high.
Three ways to control a device
Through the cloud
You register on the Tuya IoT Developer Platform, create a cloud project, link your Smart Life account and get API access. This is how the official Tuya integration in Home Assistant works. It is simple, but every command travels over the internet, and the free API access has to be renewed from time to time.
Locally, on stock firmware
Wi-Fi devices listen for commands on the local network. To talk to them you need the device's local key, which you take from the cloud project. From there you can use libraries such as tinytuya for Python or the LocalTuya integration for Home Assistant. The cloud is needed only once, to obtain the key.
By replacing the firmware
Older devices on ESP chips can be reflashed with Tasmota or ESPHome. Newer ones are mostly on Beken chips, for which there are OpenBeken and ESPHome support. After that the device is fully yours, but it means a soldering iron, risk and a lost warranty. Fine for ten plugs at home, rarely appropriate on a client's site.
Tuya Zigbee devices without the Tuya gateway
Tuya Zigbee devices can be paired with your own coordinator through Zigbee2MQTT or ZHA. Many work straight away. But some models do not use standard Zigbee clusters. They use Tuya's own "tunnel", with the same data points inside. Those devices need a dedicated definition in Zigbee2MQTT. Before buying a batch, check that the exact model is on the supported list.
Common pitfalls
The local key changes when a device is re-added to the app. Re-pair a plug and your script stops working.
There are several versions of the local protocol (3.3, 3.4, 3.5), and older libraries do not always understand newer devices.
Most devices hold only one local connection. If the Smart Life app is open, your code may not get through.
The same model from a new batch can have a different chip and a different DP map. Buy spares and test every batch.
After a power cut a device may come back in an unknown state. Check the "state after power restore" setting before installation.
From my own apartment
In my apartment I have a constant problem with temperature and humidity sensors. From time to time they stop sending data or send it late, and then the scenario that turns on the humidifier in the room fails. The sensor is fine, the humidifier is fine, but the automation does not fire because it is waiting for a value that never arrived.
There is an opposite example too. The door sensor has never let me down. And it is connected over Wi-Fi, even though the general advice for sensors is Zigbee. A rule is a rule, but a specific model has to be checked in real conditions.
What a developer should take from this. A scenario should not depend on a single reading from a single sensor. Check how fresh the data is: if a sensor has been silent longer than it should, the system must notice and report it, not quietly do nothing. For important scenarios, build in fallback logic, for example running on a schedule while the sensor is unavailable. And test each device for a few weeks before building automation on it: a "door opened" event and a regular humidity measurement behave very differently.
When Tuya fits and when it does not
Tuya works well for an apartment or a small house, for a prototype, and for secondary functions: accent lighting, plugs, temperature sensors. It is cheap, quick and easy to replace.
Tuya is a poor fit for anything that safety or money depends on: heating, water, access, production equipment. Those need wired solutions and logic that does not depend on someone else's cloud.
The middle path we use most often: Tuya devices as the hands and eyes, with all the logic running locally in Home Assistant. If the cloud disappears, the house does not notice.
Where to start
Buy one plug with energy metering and one Zigbee sensor. Add them to Smart Life, create a project on the developer platform, find the DP map and the local key. Switch the plug on from Python with tinytuya. Then connect the same devices to Home Assistant. In one weekend you will understand Tuya better than after a week of reading documentation.
If you are planning automation for a house, a warehouse or a farm, or you are building a product on top of Tuya devices, get in touch with RemSoft.Dev. I am happy to talk it through.